SSH Raspberry Pi IoT From Anywhere Free: The Ultimate Guide
SSH Raspberry Pi IoT from anywhere free is an exciting opportunity for developers, hobbyists, and tech enthusiasts to remotely manage and interact with their IoT devices without additional costs. Whether you're setting up a home automation system or a professional IoT project, understanding how to securely connect to your Raspberry Pi over the internet is crucial. In this guide, we will explore everything you need to know to achieve this efficiently.
With the increasing adoption of Internet of Things (IoT) devices, remote access to these systems has become a necessity. Whether you're managing your smart home or monitoring industrial equipment, being able to SSH Raspberry Pi IoT from anywhere free opens up endless possibilities. This guide will take you through the process step-by-step, ensuring your setup is both secure and reliable.
By the end of this article, you'll have a comprehensive understanding of the tools, techniques, and best practices required to connect to your Raspberry Pi remotely. We'll also discuss potential security risks and how to mitigate them, ensuring your IoT projects remain safe from unauthorized access.
Introduction to SSH and Raspberry Pi IoT
What is SSH?
SSH, or Secure Shell, is a network protocol that allows secure communication between two devices over an unsecured network. It is widely used by system administrators to manage servers remotely. For Raspberry Pi IoT projects, SSH enables users to control and monitor their devices from anywhere in the world.
Why Use Raspberry Pi for IoT?
The Raspberry Pi is a versatile and cost-effective single-board computer that is perfect for IoT projects. Its compatibility with various sensors, actuators, and networking protocols makes it ideal for building smart home systems, environmental monitoring solutions, and more. Combining SSH with Raspberry Pi IoT allows users to manage their devices remotely without the need for physical access.
Benefits of SSH Raspberry Pi IoT
- Remote management of IoT devices
- Cost-effective solution for small-scale projects
- Enhanced security through encrypted connections
- Flexibility to access devices from anywhere
Understanding SSH Basics
How Does SSH Work?
SSH works by establishing an encrypted connection between a client (your computer) and a server (your Raspberry Pi). This connection ensures that all data exchanged between the two devices remains secure and private. The protocol uses public-key cryptography to authenticate users and encrypt data.
Key Components of SSH
- Client: The device you use to connect to your Raspberry Pi
- Server: The Raspberry Pi acting as the host
- Authentication: Methods such as passwords or public/private keys
- Encryption: Ensures data security during transmission
Why Is SSH Important for IoT?
In the realm of IoT, security is paramount. SSH provides a secure method for accessing and managing IoT devices remotely. By using SSH, you can protect your devices from unauthorized access and ensure that sensitive data remains confidential.
Setting Up Your Raspberry Pi for IoT
Hardware Requirements
Before diving into SSH Raspberry Pi IoT, ensure you have the necessary hardware:
- Raspberry Pi (any model with Wi-Fi capabilities)
- MicroSD card with Raspberry Pi OS installed
- Power supply
- Network connection (Wi-Fi or Ethernet)
Software Installation
Install Raspberry Pi OS on your microSD card. You can download the latest version from the official Raspberry Pi website. Once installed, configure your Wi-Fi settings and enable SSH by creating an empty file named "ssh" in the boot partition.
Initial Configuration
After booting up your Raspberry Pi, log in using the default credentials (username: pi, password: raspberry). Update your system by running the following commands:
sudo apt update && sudo apt upgrade
Enabling Remote Access to Raspberry Pi
Enable SSH on Raspberry Pi
SSH is disabled by default on Raspberry Pi OS. To enable it, open the Raspberry Pi Configuration tool:
sudo raspi-config
Navigate to "Interfacing Options" and select "SSH." Choose "Yes" to enable SSH and then reboot your Raspberry Pi.
Find Your Raspberry Pi's IP Address
Knowing your Raspberry Pi's IP address is essential for establishing an SSH connection. You can find it by running:
hostname -I
This command will display the IP address assigned to your Raspberry Pi.
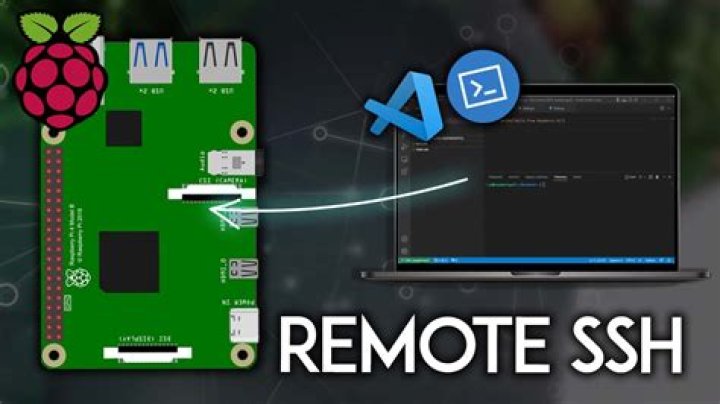
Connecting via SSH
From your client device, open a terminal or SSH client (such as PuTTY for Windows) and enter the following command:
ssh pi@
Enter the password when prompted, and you'll be connected to your Raspberry Pi.
Securing Your SSH Connection
Change Default Credentials
Using the default username and password for your Raspberry Pi is a security risk. Change them immediately by running:
sudo passwd pi
Create a strong, unique password to enhance security.
Use Public/Private Key Authentication
Public/private key authentication is a more secure alternative to password-based authentication. Generate a key pair on your client machine:
ssh-keygen -t rsa -b 4096
Copy the public key to your Raspberry Pi:
ssh-copy-id pi@
Disable Password Authentication
To further enhance security, disable password authentication in the SSH configuration file:
sudo nano /etc/ssh/sshd_config
Set "PasswordAuthentication" to "no" and restart the SSH service:
sudo systemctl restart ssh
Tools and Software for SSH Raspberry Pi IoT
SSH Clients
- Terminal (Mac/Linux)
- PuTTY (Windows)
- Mobaxterm (Cross-platform)
Monitoring Tools
For IoT projects, monitoring tools can provide valuable insights into your Raspberry Pi's performance and status. Consider using:
- Grafana
- Prometheus
- InfluxDB
Automation Tools
Automating tasks on your Raspberry Pi can save time and improve efficiency. Explore tools like:
- Cron
- Ansible
- Home Assistant
Free Options for SSH Raspberry Pi IoT
Using Dynamic DNS Services
Dynamic DNS (DDNS) services allow you to access your Raspberry Pi using a domain name instead of an IP address. Many DDNS providers offer free plans, such as:
- No-IP
- duckdns.org
- Dynu
Port Forwarding
Port forwarding allows you to access your Raspberry Pi from outside your local network. Configure your router to forward port 22 (the default SSH port) to your Raspberry Pi's IP address. Ensure you follow your router's documentation for detailed instructions.
Tunneling Services
Services like ngrok and localtunnel provide temporary public URLs for accessing your Raspberry Pi. These tools are free and easy to use, making them ideal for testing and development purposes.
Troubleshooting Common Issues
Connection Refused
If you receive a "Connection refused" error, ensure that:
- SSH is enabled on your Raspberry Pi
- Your IP address is correct
- Firewall rules allow SSH traffic
Authentication Failure
Authentication failure errors typically indicate incorrect credentials or issues with public/private key authentication. Verify your username, password, and key configuration.
Timeout Errors
Timeout errors may occur if your Raspberry Pi is not reachable over the network. Check your network settings and ensure that your router allows SSH traffic.
Best Practices for SSH Raspberry Pi IoT
Regular Updates
Keep your Raspberry Pi's software up to date to protect against vulnerabilities. Regularly run:
sudo apt update && sudo apt upgrade
Network Security
Secure your local network by using strong passwords, enabling WPA3 encryption, and limiting access to trusted devices.
Backup Your Data
Regularly back up important data stored on your Raspberry Pi to prevent data loss in case of hardware failure or security breaches.
Conclusion
SSH Raspberry Pi IoT from anywhere free is a powerful tool for managing and interacting with your IoT devices remotely. By following the steps outlined in this guide, you can set up a secure and reliable connection to your Raspberry Pi. Remember to prioritize security and adhere to best practices to protect your devices and data.
We encourage you to leave a comment below with any questions or feedback. Feel free to share this article with others who may find it useful. For more in-depth guides and tutorials, explore our other articles on IoT and Raspberry Pi projects.
References:
