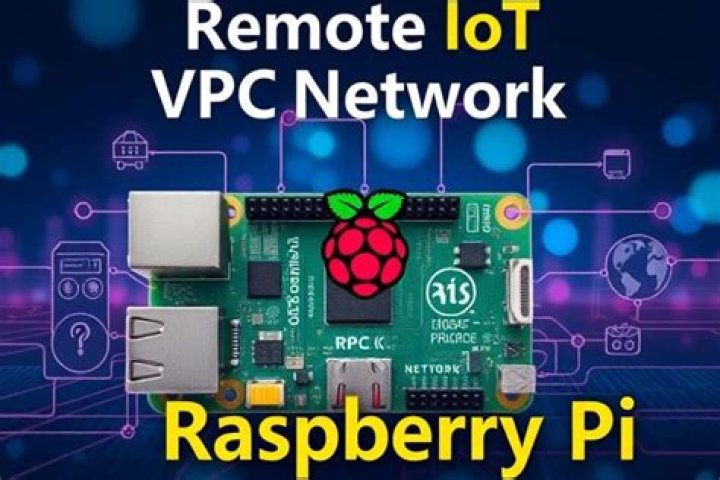
How to Use RemoteIoT Behind Router Raspberry Pi: A Comprehensive Guide
Using RemoteIoT behind a router with Raspberry Pi opens up a world of possibilities for remote monitoring and control of IoT devices. This setup allows you to access your IoT devices securely from anywhere, even when they are connected behind a NAT router. Whether you're a hobbyist or a professional, understanding how to configure your Raspberry Pi for RemoteIoT will significantly enhance your IoT projects.
In today's interconnected world, Internet of Things (IoT) devices have become integral to both personal and professional applications. However, accessing these devices remotely can sometimes be challenging, especially when they are behind a router. This article will guide you through the process of setting up RemoteIoT on Raspberry Pi, ensuring secure and reliable access.
This guide is designed for beginners and advanced users alike, providing step-by-step instructions, helpful tips, and troubleshooting advice. By the end of this article, you'll have a robust setup that allows you to monitor and control your IoT devices from anywhere in the world.
Introduction to RemoteIoT
RemoteIoT is a powerful tool that enables remote access to IoT devices. It allows you to control and monitor devices such as sensors, cameras, and smart home appliances from anywhere in the world. When used with Raspberry Pi, RemoteIoT becomes even more versatile, thanks to the Pi's flexibility and wide range of supported peripherals.
What is RemoteIoT?
RemoteIoT refers to the concept of accessing IoT devices remotely. This can include monitoring sensor data, controlling actuators, or managing networked devices. By leveraging Raspberry Pi as the central hub, you can create a secure and efficient system for remote IoT management.
Why Use Raspberry Pi for RemoteIoT?
Raspberry Pi is an excellent choice for RemoteIoT projects due to its affordability, versatility, and ease of use. It supports a wide range of operating systems, programming languages, and hardware interfaces, making it ideal for IoT applications. Additionally, its low power consumption makes it suitable for long-term deployments.
Raspberry Pi Setup
Before diving into the specifics of using RemoteIoT behind a router, it's essential to set up your Raspberry Pi properly. This section will guide you through the initial configuration steps.
Hardware Requirements
- Raspberry Pi (any model with network capabilities)
- Power supply
- MicroSD card (minimum 16GB)
- Ethernet cable or Wi-Fi adapter
Software Installation
Install the latest version of Raspberry Pi OS on your microSD card. You can download the image from the official Raspberry Pi website and use a tool like Balena Etcher to flash it onto the card. Once installed, boot your Raspberry Pi and configure the basic settings, including Wi-Fi, time zone, and password.
Understanding Networking Basics
To use RemoteIoT behind a router, you need a basic understanding of networking concepts. This section will cover the essentials, including IP addresses, subnets, and NAT.
IP Addresses
An IP address is a unique identifier assigned to each device on a network. In a typical home network, devices are assigned private IP addresses, which are not directly accessible from the internet. To access these devices remotely, you'll need to configure port forwarding on your router.
Subnets
A subnet is a logical partition of an IP network into smaller segments. Understanding subnets is crucial for configuring your network properly. Ensure that your Raspberry Pi and IoT devices are on the same subnet for seamless communication.
Configuring Port Forwarding
Port forwarding allows you to direct incoming traffic from the internet to a specific device on your local network. This is essential for accessing your Raspberry Pi and IoT devices remotely.
Steps to Configure Port Forwarding
- Log in to your router's admin interface.
- Locate the port forwarding section.
- Add a new rule, specifying the external port, internal IP address, and internal port.
- Save the changes and restart your router if necessary.
Securing Your Connection
Security is paramount when setting up remote access to IoT devices. This section will cover some best practices for securing your RemoteIoT setup.
Use Strong Passwords
Ensure that all devices and services use strong, unique passwords. Avoid using default credentials, as these are often targeted by attackers.
Enable SSH with Public Key Authentication
Secure Shell (SSH) is a protocol for secure communication between devices. By enabling public key authentication, you can enhance the security of your Raspberry Pi setup.
Troubleshooting Common Issues
Despite careful planning, issues may arise during the setup process. This section will address some common problems and their solutions.
Device Not Accessible from Outside Network
If you cannot access your Raspberry Pi from outside your network, check the following:
- Verify that port forwarding is correctly configured.
- Ensure that your Raspberry Pi is assigned a static IP address.
- Check your firewall settings to ensure they are not blocking incoming traffic.
Advanced Features
Once your basic setup is complete, you can explore advanced features to enhance your RemoteIoT system. This section will cover some of these features.
Set Up a Dynamic DNS Service
Dynamic DNS (DDNS) allows you to access your network using a domain name instead of an IP address. This is particularly useful if your ISP assigns a dynamic IP address to your router.
Implement SSL/TLS Encryption
Encrypting your data with SSL/TLS ensures that communication between your devices is secure. This is especially important for sensitive applications like home security systems.
RemoteIoT Applications
The applications of RemoteIoT are virtually limitless. From home automation to industrial monitoring, this technology can be applied in various fields. Below are some examples:
Smart Home Automation
Control lighting, thermostats, and appliances remotely, enhancing convenience and energy efficiency.
Environmental Monitoring
Monitor temperature, humidity, and air quality in real-time, providing valuable data for environmental studies.
Best Practices
Adopting best practices ensures the reliability and security of your RemoteIoT setup. Here are some recommendations:
- Regularly update your software and firmware to protect against vulnerabilities.
- Document your setup and configurations for future reference.
- Test your system periodically to ensure it functions as expected.
Conclusion
Using RemoteIoT behind a router with Raspberry Pi is a powerful way to enhance your IoT projects. By following the steps outlined in this guide, you can create a secure and efficient system for remote monitoring and control. Remember to prioritize security and regularly update your setup to stay protected against potential threats.
We encourage you to share your experiences and ask questions in the comments section below. Additionally, explore other articles on our site for more tips and tutorials on IoT and Raspberry Pi projects. Happy building!
